Most of us remember the first time we made anything out of clay. It probably looked something like the Leaning Tower of Pisa made from a long, lumpy, spiraling coil. I’m pretty sure my parents still have this up on display in one of their curio cabinets to this day. Well, I can honestly say that was the first and last time I have ever coil built a pot, until now. I have recently rediscovered my inner kindergartener and started building a coil vessel. I thought this would be a great time to go over the basic steps in coil building.
It has occurred to me, that once you have figured out and experimented with coil building, you can really make anything you want with clay. From a mostly wheel throwing potter, I can really appreciate this. When you throw on the wheel, it can sometimes feel like the works you can create are somewhat limited. I know I mostly stick to vessel like things such as cups and bowls and even plates. My demonstration below is of a vessel form, but by using this technique of coil building, the possibilities for the works you can create really are endless.
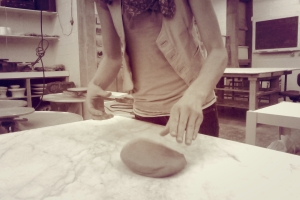
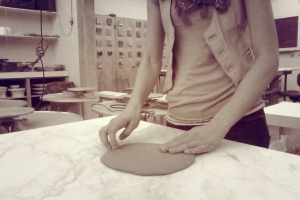
Step One: Create a slab for your base.
You can do this by using a rolling pin, a slab roller, or I like to throw it against the wedging table at an angle. This sideways momentum forces the clay to spread outward into a flattened base. I like to keep the clay base about ¼ “ thick.
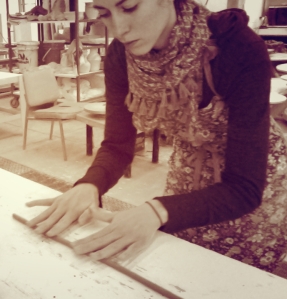
Step Two: Roll your clay out into a coil.
You can roll your coils by hand, or use an extruder. You can make your coils however thick you would like, I kept mine fairly small to keep my walls on the the thinner side.
Step Three: Pinch the coil into the slab to start forming the walls of your vessel.
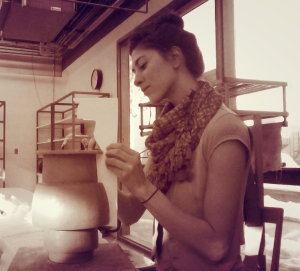
You will push the clay from your coil down into the slab on both the inside and the outside of your coil. Remember to support your coil from the opposite side so you don’t start pushing your wall outward or inward.
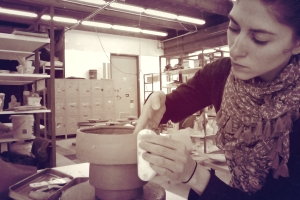
Step Four: Smooth your coil out.
The best tool for this is a plastic or rubber rib.
Step Five: Repeat steps Two–>Four.
Tips: remember that if you want your walls to move inward, creating a skinnier profile, you will attach your coils slightly inward from the previous coil attached. If you want your walls to expand outward, you will want to place your next coils slightly on the outside of the previously attached coil. If you want to have a straight up and down wall, you will place your next coil directly on top of the previous one. Be sure to step back from your work every now and then to make sure your walls are going in the direction you want them to.
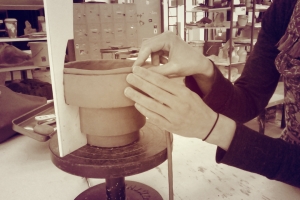
I have used foam core board to cut out a profile “stencil” of what I want my vessel to look like. This helps keep me on track with where my coils should be placed and the direction I need my walls to go. I put my against my pot after attaching every coil, and I use it as a guide when placing my next coil on the pot.
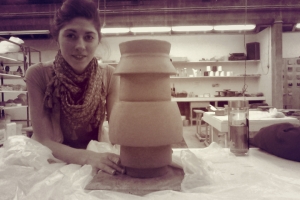
Also, remember if your clay is too wet, and you are building fairly large scale, you may have problems with sagging. My pot has been built over many days in order to let the clay towards to bottom set up a little bit, (but not too dry, or you will get cracking). However, remember to keep the top/rim wet so it is the same wetness as the clay you will be adding, this allows for proper attachment and bonding of the clay.
I hope this tutorial was helpful for you guys, and if you have any questions please let me know. Happy hand building!
WHAT’S ON THE RADIO:
I love listening to this band, Baths, while I’m working in the studio. This album, Cerulean is amazing and I would encourage all of you to check them out!

Great simple guide! I remember making things out of coils of clay as a kid and would love to pick it up again!
The idea of a foam core board as a stencil is an awesome way to refine the shape! The tips about letting it the clay dry as you go (but keeping the top moist) are invaluable to a beginner like me.
The suggested music is a surprising and awesome addition to the post. Something I’ve seen on other how-tos is a picture at the top of the final product, and that might be an addition to consider.
Looking forward to more!